Pneumatic Fenders’ Maintenance And Care
11/29/2024Marine Airbag’s Production Process
12/03/2024Inflatable Fender’s Repairing
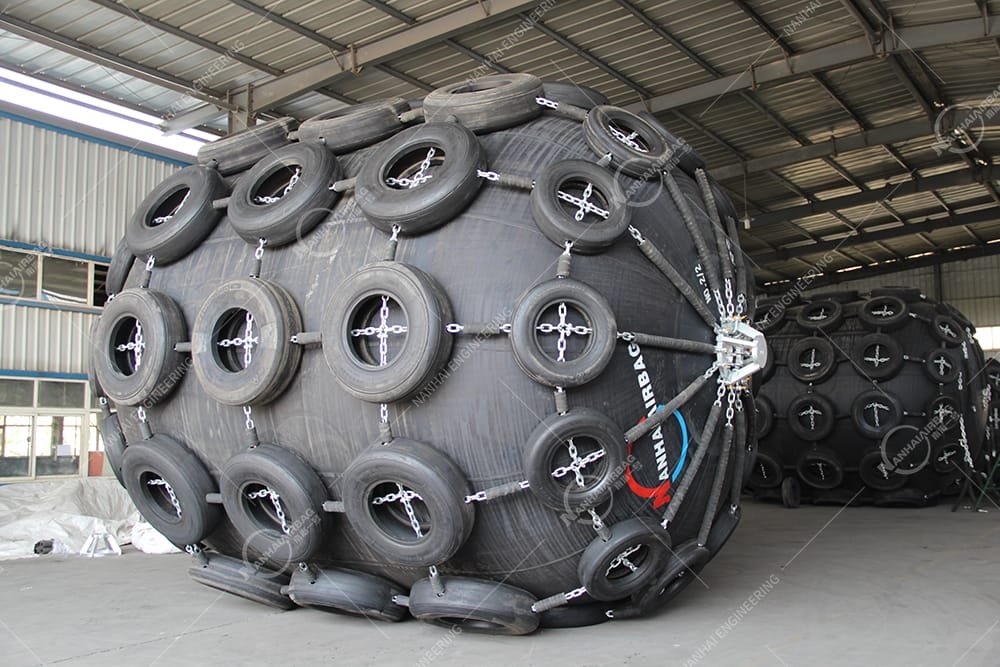
Inflatable fenders are an important part of a ship’s protection system, and repairing them is crucial for maintaining their effectiveness and extending their lifespan. Below are the common methods and steps for repairing inflatable fenders:
1. Prepare Tools and Materials
- Repair adhesive or specialized glue: Choose a glue that is compatible with the material of the inflatable fender (e.g., PVC, rubber, etc.).
- Repair patch: Select an appropriate patch based on the size of the damage. Typically, PVC or rubber patches are used.
- Cleaning agent: Used to clean the damaged area and remove dirt, salt, and other contaminants.
- Scissors, scraper, etc.: Used for cutting the repair patch and applying the glue.
2. Inspect the Damage
- Before starting the repair, thoroughly inspect the inflatable fender to identify the exact location and extent of the damage. Look for cracks, punctures, abrasions, or signs of aging.
- If the damage is severe, it may be necessary to replace the entire fender or consult a professional for repair.
3. Clean the Damaged Area
- Use a cleaning agent and a soft cloth to clean the damaged area. Ensure that the surface is free from oil, dirt, and salt deposits.
- After cleaning, wipe the area dry with a clean cloth and ensure that it is completely dry if it was wet.
4. Cut the Repair Patch
- Cut the repair patch to an appropriate size based on the shape and size of the damage. The patch should be slightly larger than the damaged area to ensure better adhesion.
- Use material that matches or is similar to the fender’s original material (usually PVC or rubber).
5. Apply the Repair Adhesive
- Apply a layer of repair adhesive evenly on the back of the repair patch and the damaged area of the fender. Be careful not to apply too much glue to avoid overflow.
- Use a scraper or brush to spread the glue evenly, ensuring that all contact surfaces are covered.
6. Attach the Repair Patch
- Carefully align the repair patch with the damaged area and gently press it into place. Make sure the patch is in full contact with the surface of the fender, removing any air bubbles or excess adhesive.
- Depending on the type of adhesive used, it may need several hours to 24 hours to fully cure. Follow the manufacturer’s instructions regarding curing time.
7. Check and Inflate
- Once the adhesive has fully cured, inflate the fender and check the repair. Use an air pump to inflate the fender to the recommended pressure and check for any air leakage.
- If the repair does not seal properly and there is still leakage, you may need to repeat the repair process or replace the patch.
8. Cure and Use
- After confirming that the repair is successful, you can begin using the repaired inflatable fender. It is recommended to perform a final check, especially after inflation, to ensure everything is sealed properly.
Important Notes:
- Selection of Repair Materials: Choose the appropriate repair adhesive and patch based on the fender material. Different types of fenders (e.g., PVC, rubber) may require different materials.
- Post-Repair Inspection: After the repair, always check the inflation and pressure to ensure no air leakage at the repaired area.
- Avoid Frequent Repairs: Inflatable fenders may become worn or aged over time, and frequent repairs may not restore their original protective function. Consider replacing the fender when necessary.
- Avoid High Temperatures: During the repair process, avoid high temperatures, especially when using adhesives. Follow the manufacturer’s guidelines to ensure proper curing conditions.
By following these steps, inflatable fenders can be effectively repaired, restoring their protective function and ensuring the safety of the ship during docking or sailing.